
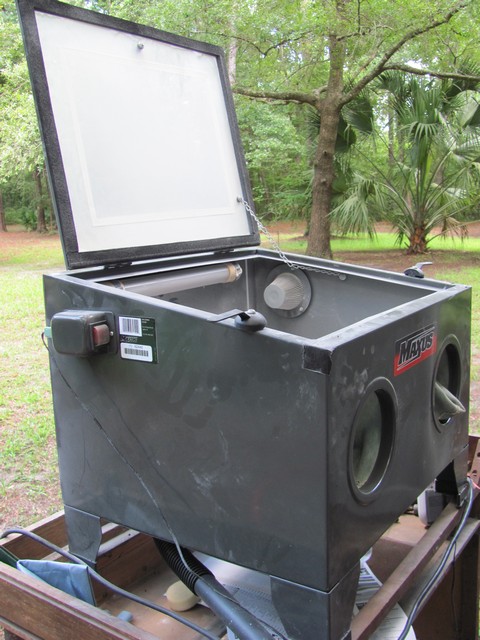
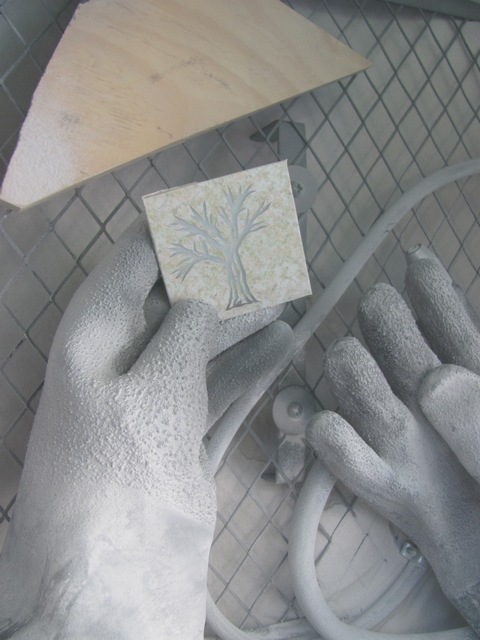
here's the sandblasting cabinet.
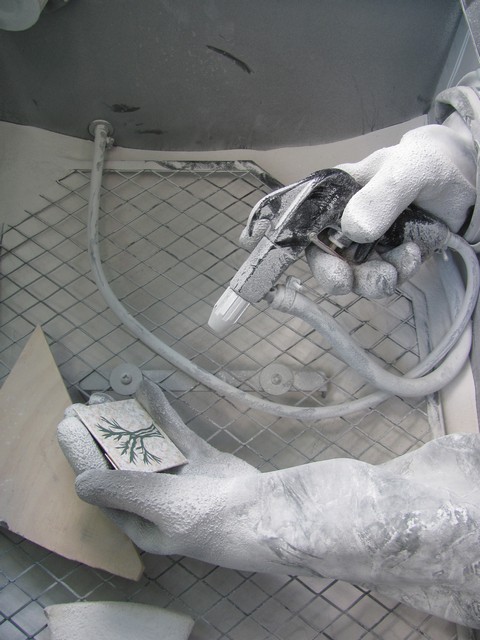
hands go inside by way of HEAVY gloves...one to hold whatever you're sandblasting...the other gloved hand holds onto the spray gun.
cover's closed (fumes!!) and Sam blasts away. the sand grinds into the back surface of the mirror...etching in the design to the open areas of the stencil

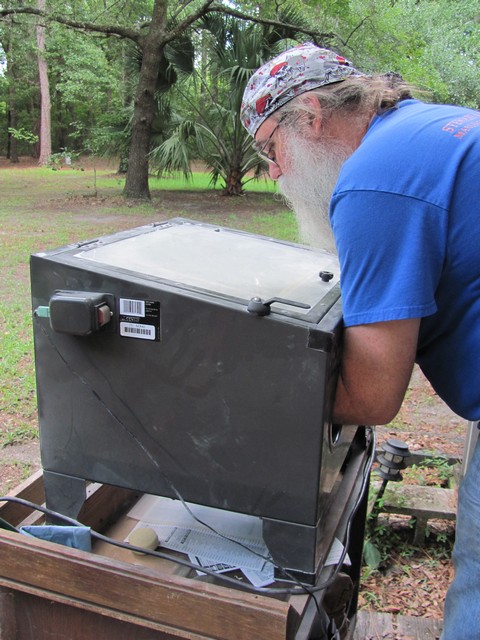
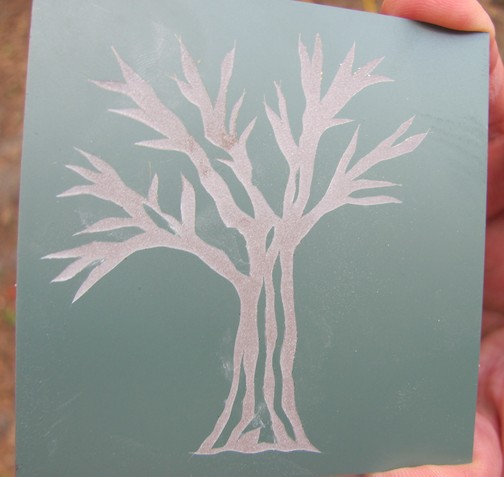
open cabinet (vaccuming out the dust) to make sure the design is sandblasted into the mirror enough!

nope!! it needs a little more...needs to be etched a little deeper...
it's finished!! now it's on to peeling away the stencil (contact paper) from the back of the mirror
((while Sam has one more mirror to sandblast)) 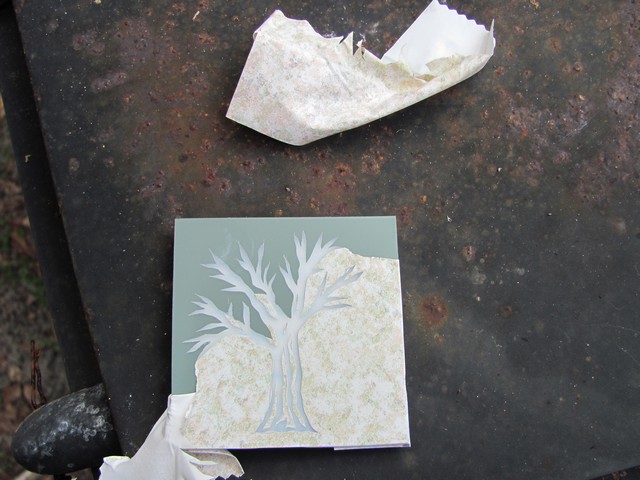
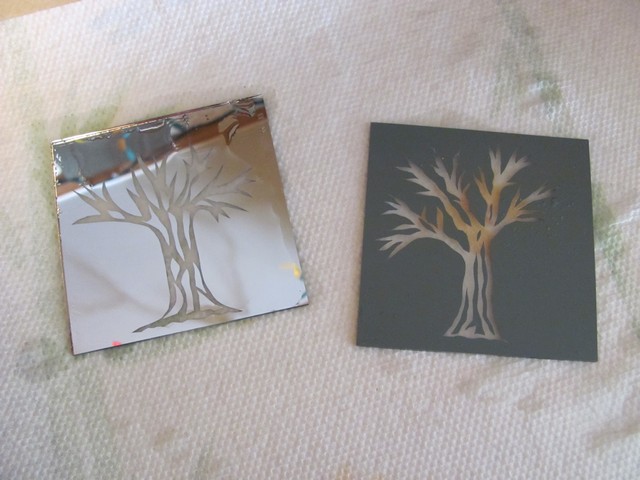
peeled, rinsed off and drying...showing the front and back sides of the 2 mirrors. the sandblasting gives the glass a frosted look where the silver coating was etched away...
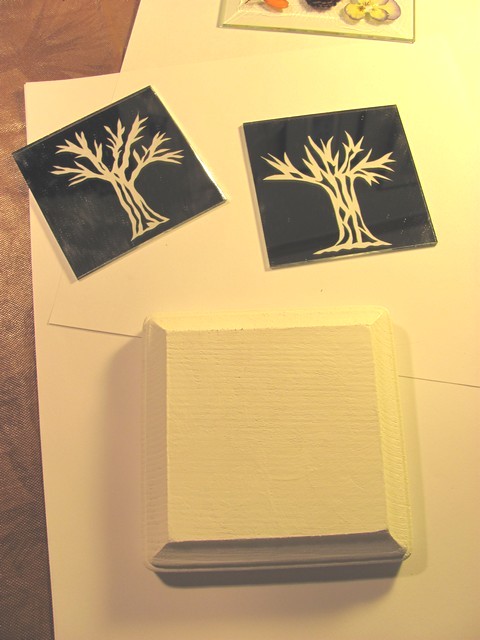
i gave a white base coat to the wood plaque
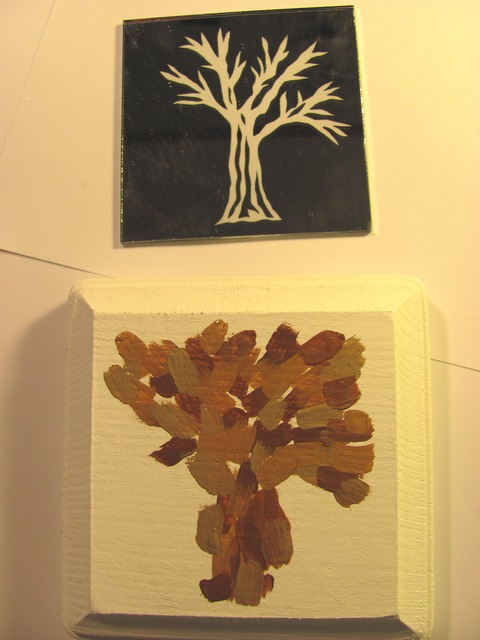
and now i start to paint the wood...eyeballing where the tree will be positioned when the mirror gets glued to the wood!! i'll paint, let it dry...repaint, again and again...adding different shades...until i see that the colors are just how i want them to be when they show through the frosted glass of the mirror!!
SEE??? sometimes i get the urge to do something other than BoNES! ha!
((i'll post the finished piece when completed!!))
wow..look so great..i would do it too..
ReplyDeleteballoon delivery nj